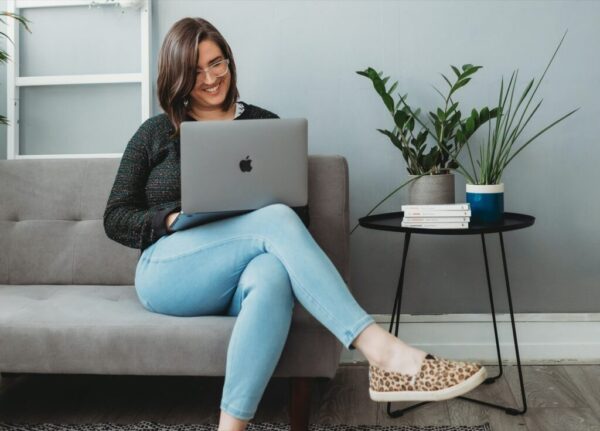
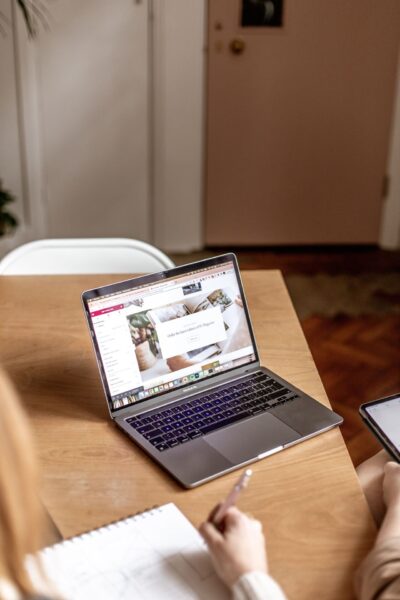
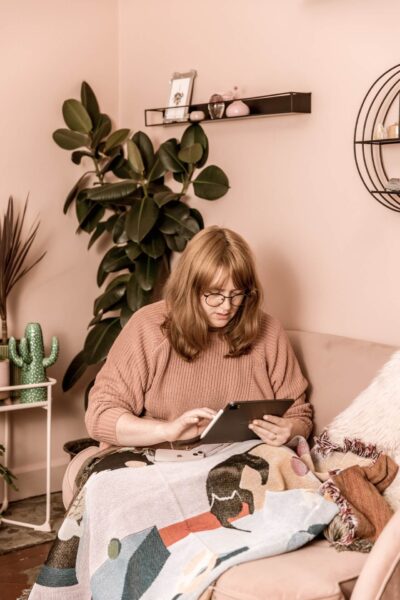
Panic posting to Instagram is a bad idea. We’ve written about why a few times before, but the gist is that a little advanced planning means you can direct your efforts towards specific business goals, and align this powerful social network with other marketing efforts like email campaigns and your website.
Panic posting also results in a lot of poorly produced pics and regret. You know how I know? Because I still do it all the damn time. So I need to play to my disorganisation.
Stock photography is great if used in the right way, but it can only take you so far.
Luckily, now we have a whole bunch of folders packed with brand lifestyle photography by the wonderful Georgia de Lotz, but before we had multiple brand shoots scheduled in every year, I had to come up with another solution.
I had to develop a method that allowed Studio Cotton to create a bank of high quality images that I could panic-post later, as well as create a set-up that allowed me to get that well-staged, well-lit and creative pic in mere minutes.
Ok, sure, it helped that we had our own photography studio, but with the following equipment you can produce this same set-up in your home or office for not very much money at all.
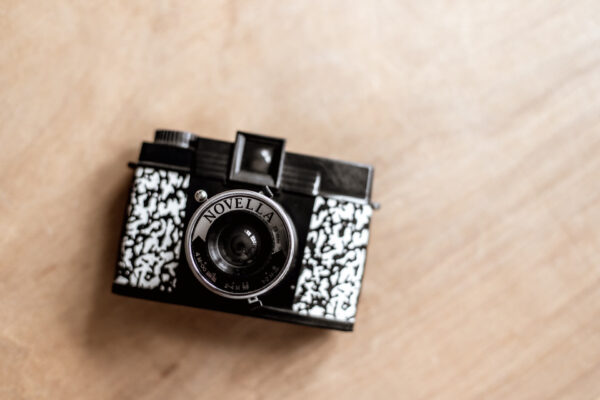
1. A camera you know how to use
If you’re a small business, you might be working from a smart phone, and that is absolutely fine. Just take a little time to read up on how to take the best iPhone pictures, as there’s loads of incredible advice available on how to do it. Here are a few articles that can get you started.
- Tips and tricks to help you take better smartphone photos by Popular Science
- 10 Easy Tips and Tricks for Better Smartphone Photos by PC Magazine
- Smartphone Photography 101: Take Good Pics on Android + iPhone by WikiHow
If you have access to a DSLR camera, that’s even better – but only if you know how to use it. This is where YouTube is your friend – it’s best to find videos for your specific model (I started with this one for my Canon 1300D) and then find answers that tackle specific problems.
For example, my biggest issue by far was exposure – despite having a ridiculously bright studio, all my pics were grainy and dark. Luckily this dude came to my rescue, and now my photos don’t look like they were taken through smog.
Starting cost: You probably already have this, so Imma say ‘Free’.
2. A source of bright light
How many of you can only take Instagram pics within a two-hour window, twice a week, when that perfect beam of sunlight hits your lovely victorian fireplace? Some brands thrive this way, but boy does it put the pressure on.
In an ideal world, you’d have access to a soft box, but it’s not practical for home shooters.
Instead, look for how you can get the highest number of lumens (a measure of light) for the lowest price. A 160 LED Light bad boy produces 1280 lumen – that’s the power of around 20 iPhone flashes, so pretty damn bright.
Starting cost: £18
3. A reflective surface
A reflector can often be as useful and as powerful as a second light, and is a fraction of the price. We have the Neewer 32″ reflector in our studio, but in my experience it’s better for model photography than product shoots, and really needs a second pair of hands to operate.
I highly, highly, highly recommend foam board instead. Foam board is available from most art shops and stationers, and costs next to nothing. We’ve been picking up our foam board from Hobbycraft for just £3 a sheet, which is currently on 4 for £10 in store.
To get the most out of your reflector, first light your set up with the main light source, and then use your reflector to bounce any light back into the shadowy areas.
Here’s a bonus buy – get yourself a cat laser toy. If you’re like me, sometimes your brain just can’t physics hard enough to work out where to aim your reflector. Use a handy cat toy to point the laser in the same direction as your main light source, and use your reflector to move the final dot. Much, much easier and think-free.
Starting cost: £3
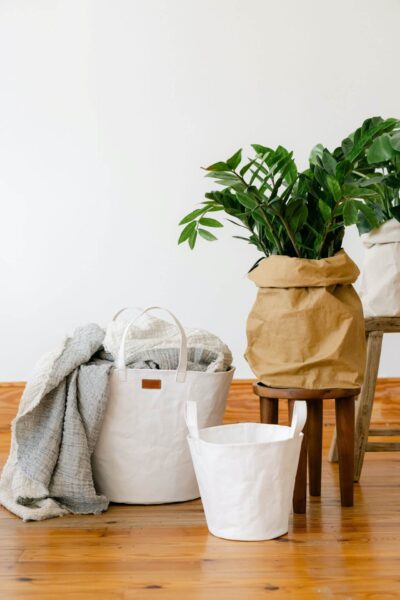
4. A blank canvas
You need an area for shooting that you can transform into any lifestyle or environment. You need a blank canvas. You know what makes a great blank canvas? A literal blank canvas. You can pick up canvases at loads of art shops – The Works is a centre for bargain canvases, but shops like Cass Art on Park Street have higher quality products and a range of sizes.
A blank canvas can be a surface for flat lays, or a plain wall behind a more traditional shot. A blank canvas can be whatever you need it to be. Don’t have room for a blank canvas? Get out that magical foam board again. I bloomin’ love foam board.
Starting cost: £5
5. A small selection of background materials
You’re a small business, so you don’t need an endless supply of settings for your Instagram photography. Just pop to your high street and grab a couple of key backgrounds. For Studio Cotton, we shoot the vast majority of our pics using a peachy pink card background from our very lovely friends at G F Smith, and a £2.50 scrap of fleecy fabric from my fav place, Fabric Land.
Starting cost: £5
6. Masking tape
Masking tape should be your best friend. No seriously – that other pair of hands I mentioned for holding a reflector – replace them with masking tape. Tape your background papers to walls, tape fabric to a blank canvas, tape your trusty foam board over your window to block out that weird shadow (another use for foam board, oooohhhhhhh yeeaaaahhhh).
Just make sure to remove it very carefully from any delicate surfaces, or you might remove a little paint too. One way to lower the tackiness of your tape is to just stick and remove it from your clothing a couple of times to add some nice fluff.
Starting cost: £1
7. Glue dots (sorry Blu-Tack)
This is where some photographers and I disagree. They’re all about the Blu-Tack, but I’ll be singing about Glue Dots all the way to my grave.
These little adhesive wonders are often the only way to get a tricky product, prop or piece of jewellery to play ball. Can’t get something to stay in one place? Glue Dot that b*tch.
This shot by Alex Casado for our lovely client Matthew Calvin was part of our Christmas advent campaign, and would not have been possible without some strategic glue-dotting.
Starting cost: £1
8. A tripod
You won’t always need a tripod, but my golly they are helpful. Using a tripod helps you to compose your image as you can have a live view of the resulting shot. If you’re using a DSLR and shooting a human-free still image, it also means you have more room to place with your shutter speed, allowing you to obtain a higher-quality pic.
It also means you can take headshots of yourself without a friend behind the camera taking the mick out of your awkward facial expressions. We have a pair of Hama tripods in the studio, and I actually use a smartphone tripod from a pound shop when using my phone. Another good idea is to use a selfie stick as you can pick these up almost anywhere. Or, like we did before we had the studio, you can use a pile of books, on a box, on a chair.
Starting cost: £Free
So that’s our list of essential equipment for taking lovely product pics for your Instagram account. Of course, this is just the structure that will allow you to create those high-quality shots – now you need to inject your creativity, your products and your brand. But £33 for all of this ain’t a bad place to start at all.
And if you need a place to start, pop over to the Studio Cotton Instagram for some kickass inspiration.